I’ve just wrapped up another Me Made May! This year I committed to wearing as many of my handmade items as possible, and I managed to wear something almost every day.
Top Row (L to R):
Dory Cardigan,
Lane Raglan hoodie, striped raglan sweater,
fade pullover,
Cheyenne Tunic button down
2nd Row:
Breathing Space sweater,
Biscayne Blouse,
Julia cardigan,
Cheyenne tunic,
Georgetown cardigan
3rd Row:
Lark Tee,
Lane raglan v-neck,
Bettine top,
Biscayne Blouse,
sleeveless top
4th Row:
Estuary Skirt,
Julia cardigan,
sleeveless top,
City Gym Shorts,
Blackwood Cardigan
5th Row:
Lady Skater dress,
Bettine top,
Helen's Closet robe, Pussy Bow Blouse, Nittany top
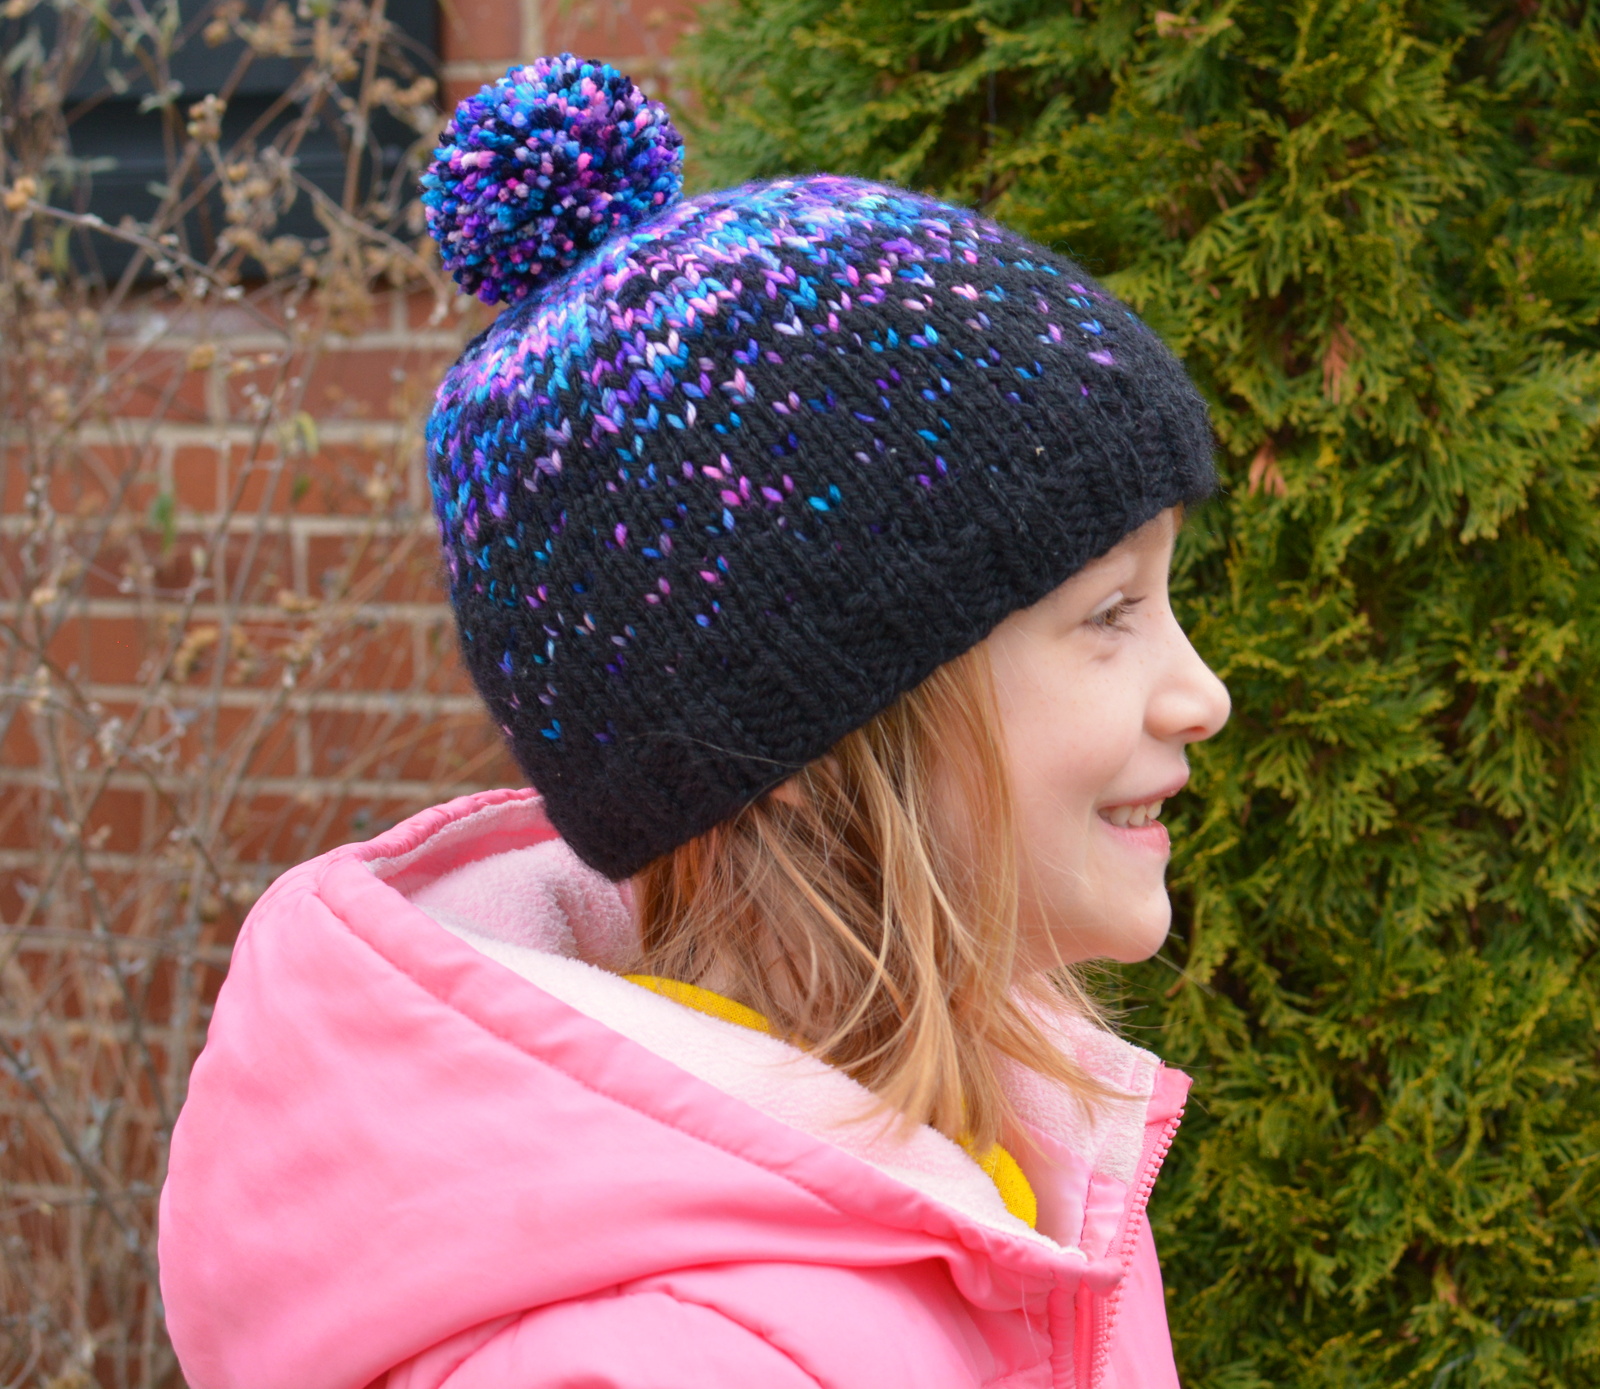
A couple of items are new this May. I originally bought the yarn for this sweater (Garnstudio DROPS baby merino in colorway "grey" - it's less purple than it looks in this photo) to make a "Magnolia Bloom Light" sweater, but the gauge was just too far off. Then I started a Culswick pullover but the lace pattern was just too slow-going. I pulled that out and decided to just make a simple striped raglan sweater with some black Berroco Ultra Wool Fine yarn leftover from my
Fiesta mittens. The sweater is based on the "
Ink and Brass" pattern, though I've been calling mine "
Ink and Iron" due to the color scheme. I didn't have quite enough black yarn to finish the stripes, so I added a few purple stripes to the end of the sleeves. They turned out to be my favorite part! The yarn is really soft, and I love the fit of this sweater. Shame I only got to wear it once before it got hot out!
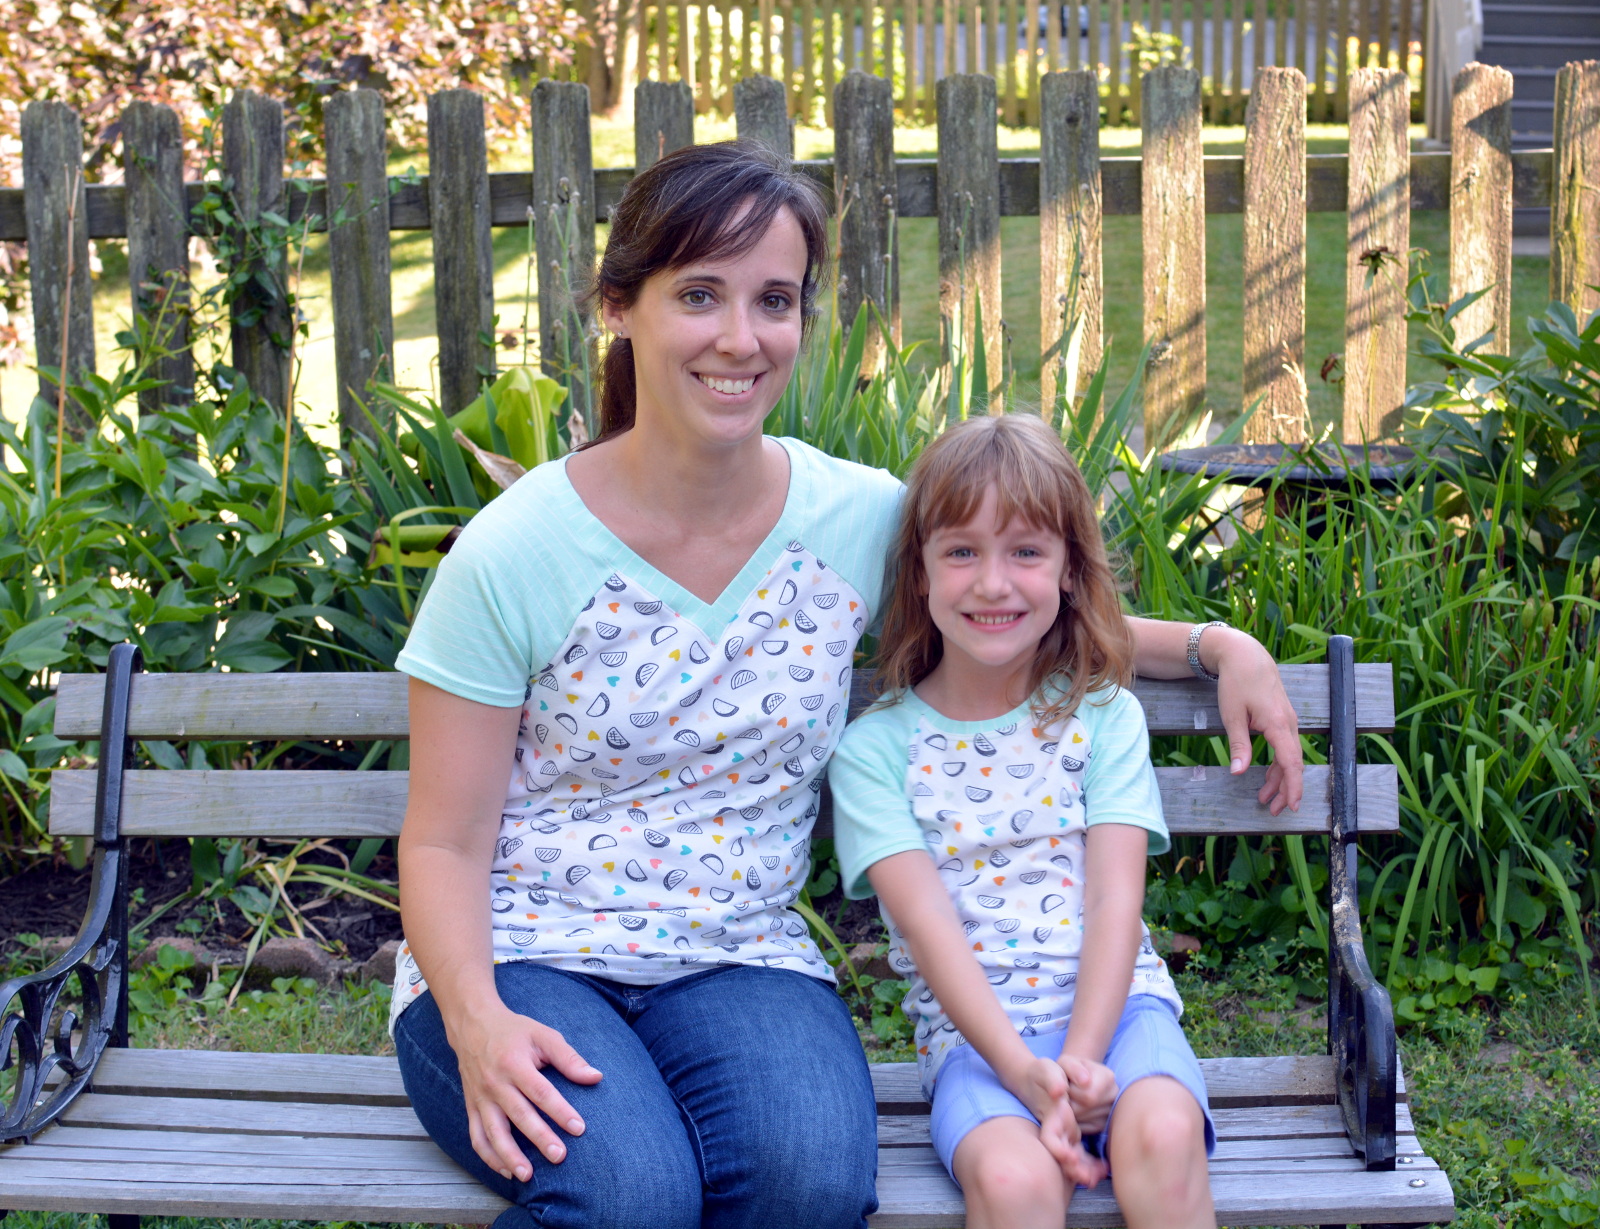
I also finished sewing this Nittany Top recently. I wore it to celebrate the last day of Me Made May. It was fun to sew and I love how the pleated neckline came together. This feels like a good staple wardrobe pattern, and would look pretty sleeveless as well as with the sleeves. I bought 1.75 yd of fabric (Art Gallery tinted bloom rayon in "dusk"), which was plenty for a size 4. I made the view without the keyhole; the only modifications were shortening by 1" and using french seams at the shoulders and sides.


Lastly, I didn't actually wear this in May, but I finished it just in time for Easter. (Did you notice it in our Easter photos?) This is a Style Arc Tulip Dress in a rayon crepe and bemberg lining from Harts Fabric. I didn't expect this crepe fabric to be stretchy when I bought it, since I've never worked with crepe before. It makes the dress comfy to wear, but it sags a bit in the bodice due to the weight of the material. Fortunately, the bodice lining keeps the structure and helps hold the waistband and skirt in place. I followed the Moneta Dress instructions for assembling the bodice to the sleeves, which keeps all the seams nicely hidden inside the lining. The tulip sleeves are so cute, and I love how they match the hemline!


To combat the stretch in the seams, I reinforced the pocket edges, neckline, and zipper seam with twill tape instead of interfacing. I lined the back of the skirt also. I finally bought an invisible zipper foot and it made sewing the zipper less annoying. Win! I cut the pocket from lining only, but I made the pocket bearer with a layer of crepe and a layer of lining for extra support (and slipperiness against the skin.) The pockets actually lay flat when the dress is flat, but they stick out a bit when the dress is on my body. I'd love to see how this pattern behaves with a slightly sturdier material like a cotton sateen.
I did make a muslin for the bodice (size 8 graded to 10 at the waist), and eventually decided to just sew a straight 10 with the bodice shortened 1/2" and the hem shortened a bit too. The hem is just overlocked, turned up 3/4" and stitched with a zig-zag blind hem stitch.
Lastly, I apparenty never blogged this Sew Over It Pussy Bow blouse and Patterns for Pirates Pencil Skirt that I made for Christmas this year. The skirt didn't make an appearance in May, but the top did. The blouse is a size 10 based on 35” bust. I did all French seams and followed instructions by Cashmerette for the sleeve splits (though I think I put them in the wrong spot - inner wrist vs. outer!) I don't love the finish at the top of the bow and had to do a little hand stitching to get it to look right. Also, the sleeve caps fit kinda weird. This is my second SOI pattern and I've had sleeve issues both times!
The skirt is made from a crushed velvet that I impulse purchased (very rare for me) from JoAnn. I lined the skirt, but the lining has a tendency has a tendency to ride up and the waistband has a tendency to roll down. Still cute though!
Phew, that was a lot of new stuff I made over the last ~9 months!